
Buyers shop with their eyes. Before anyone walks through a front door, they have already swiped past your listing — or stopped on it — based on a single thumbnail in a Property24 or Private Property grid. Get the photography right and you book viewings with the right buyers. Get it wrong and even a beautiful home sits. This guide walks through every step of doing real estate photography properly in South Africa, from planning the shoot to editing the final set — and how to turn those photos into a video tour that does even more of the selling for you.
1. Why great property photos sell homes faster
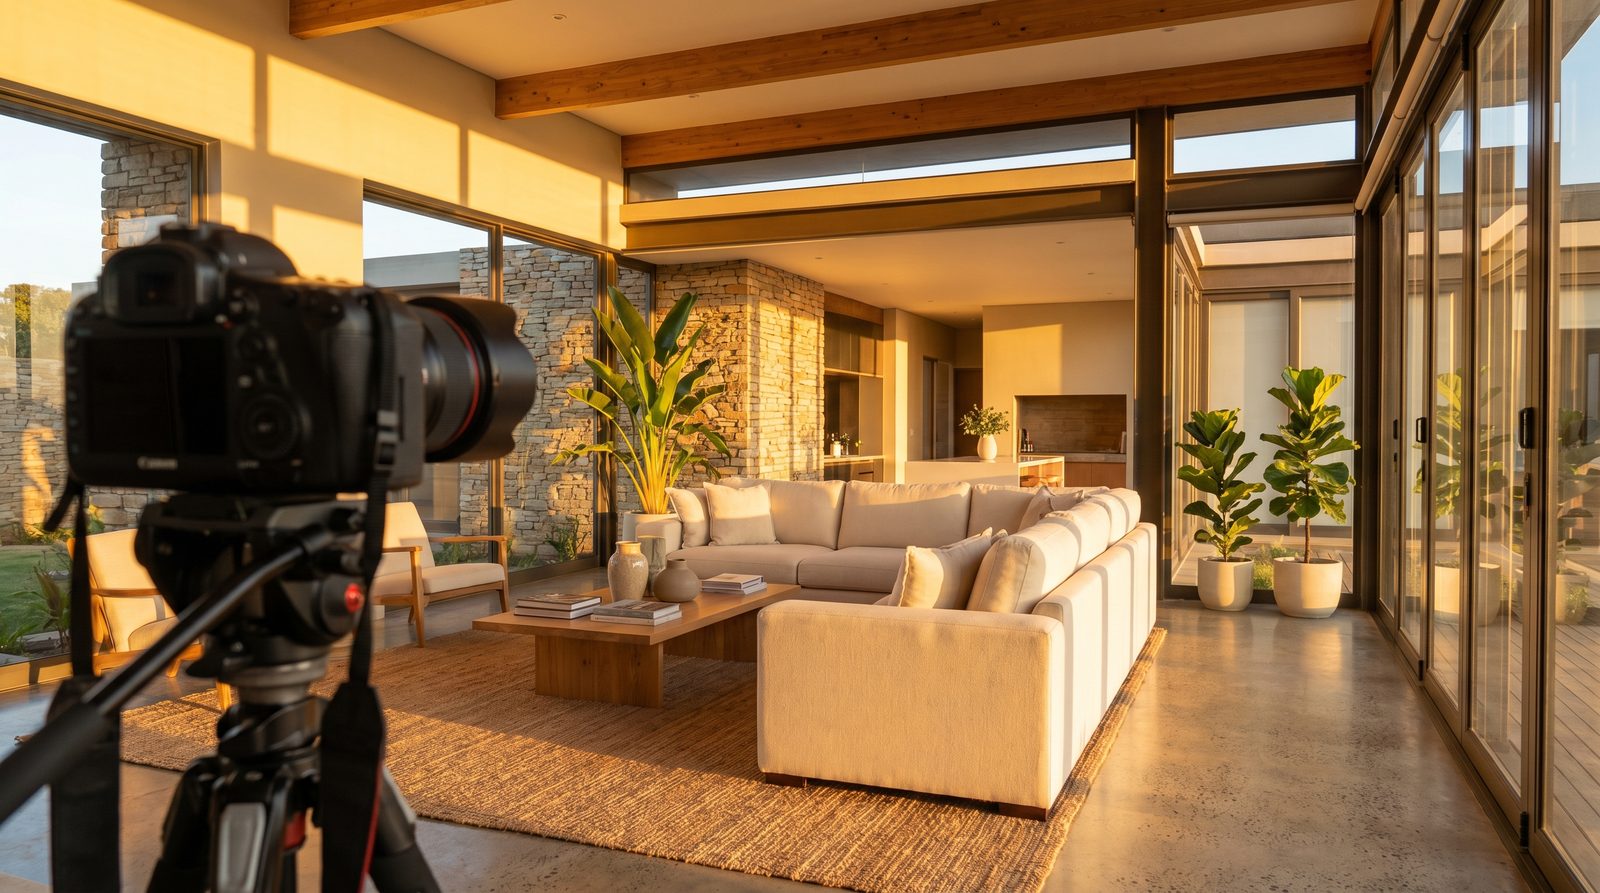
Property marketing is a visual business. The overwhelming majority of buyers begin their search online, scrolling through dozens of listings in a few minutes. Your lead photo is competing for a second of attention against every other home in the suburb. Strong, bright, professional images win that second; dark, cluttered, crooked phone snaps lose it.
95%+
of buyers start their property search online
32%
faster sales reported for listings with professional photos*
118%
more online views for listings that include a video tour*
*These are widely cited industry figures — treat them as directional rather than gospel. The point is consistent across every study: better visuals mean more views, more enquiries, and homes that sell faster and closer to asking. In a market where the first three photos decide whether a buyer keeps reading, photography is not a "nice to have". It is the storefront.
There is also a hierarchy worth understanding up front. Photos get you noticed. A video tour gets you remembered and pre-qualifies serious buyers before they ever request a viewing. We will come back to video later — but everything starts with stills, so let's get those right first.
2. Plan the shoot: timing, light and a shot list
The best real estate photographers do most of their work before they lift the camera. Light is the single biggest factor in how a property photographs, and in South Africa the light behaves differently to most of the guides you will read online.
Read the light — the southern-hemisphere twist
Almost every international photography guide tells you to favour south-facing rooms for sun. That advice is wrong here. South Africa is in the southern hemisphere, so it is north-facing rooms that get the most direct sunlight through the day. This is not trivia — it changes the order you shoot in. Walk the home, note which rooms face where, and plan your route so each space is photographed when its windows are doing the most for you.
| Room faces | Sun in South Africa | Best time to shoot it |
|---|---|---|
| North | Most direct sun, all day | Mid-morning or mid-afternoon (avoid harsh midday glare on the glass) |
| East | Morning sun | Early to mid-morning |
| West | Afternoon and evening sun | Mid to late afternoon; great for a warm feel |
| South | Least direct sun — cooler, even light | Any time; especially flattering under bright overcast |
Interiors versus exteriors
Shoot interiors in bright, even daylight — mid-morning to early afternoon is the most forgiving window. A lightly overcast day is a gift indoors: the cloud acts like a giant softbox, killing harsh shadows and blown-out windows. Save the exterior "hero" shot for the golden hour shortly after sunrise or before sunset, when the light is warm, the sky has colour, and switching the home's lights on makes it glow.
Build a shot list before you arrive
Aim for roughly 20 to 35 strong, varied images for an average three-bedroom home. Quality and variety beat volume every time — ten brilliant frames sell better than forty repetitive ones. A reliable shot list looks like this:
- One standout exterior 'hero' shot (often the cover image).
- Main living and family areas, shot from the best corner.
- Kitchen — wide, plus one detail shot of a standout feature.
- Dining area and any entertainment or braai space.
- Every bedroom (yes, all of them) and the main en-suite.
- Bathrooms, shot clean and bright with the seat down.
- Outdoor areas: pool, garden, patio, view, parking.
- A few detail shots — fittings, finishes, fireplace, a view through a window.
3. Prep and stage the property
A camera records what is there. If the room is cluttered, the photo is cluttered. Staging is not about faking a home — it is about removing distractions so a buyer can picture their own life in the space. The single highest-impact rule is simple: cleanliness first, always.
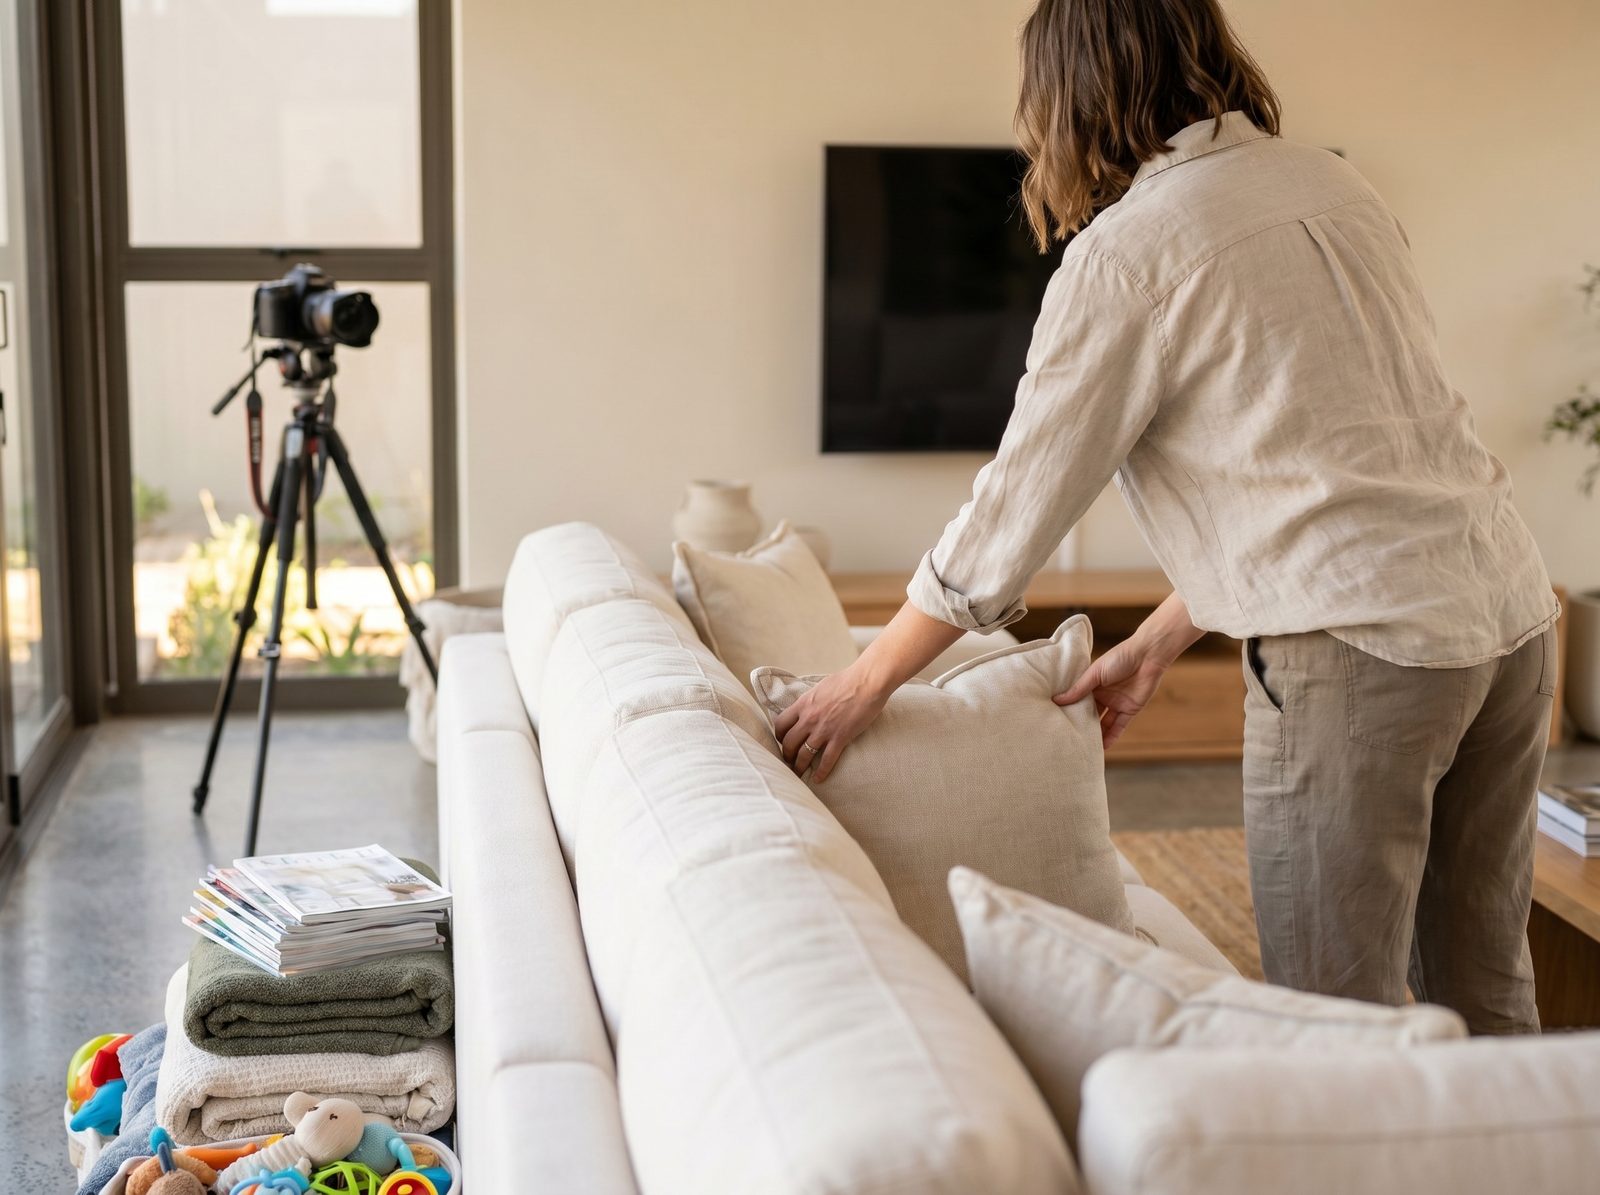
Walk the home once as a buyer would and reset every room. Use this pre-shoot checklist:
- Turn on every light, and replace mismatched bulbs so colour is consistent.
- Open blinds and curtains for natural light and to show the view.
- Clear kitchen and bathroom counters down to one or two deliberate items.
- Hide bins, cables, chargers, remotes, pet bowls and laundry.
- Put toilet seats down and remove bath mats and toiletries.
- Move cars off the driveway and out of exterior shots.
- Cut the lawn, clean the pool, and tidy the garden and entrance.
- Depersonalise: remove family photos, fridge clutter and anything too personal.
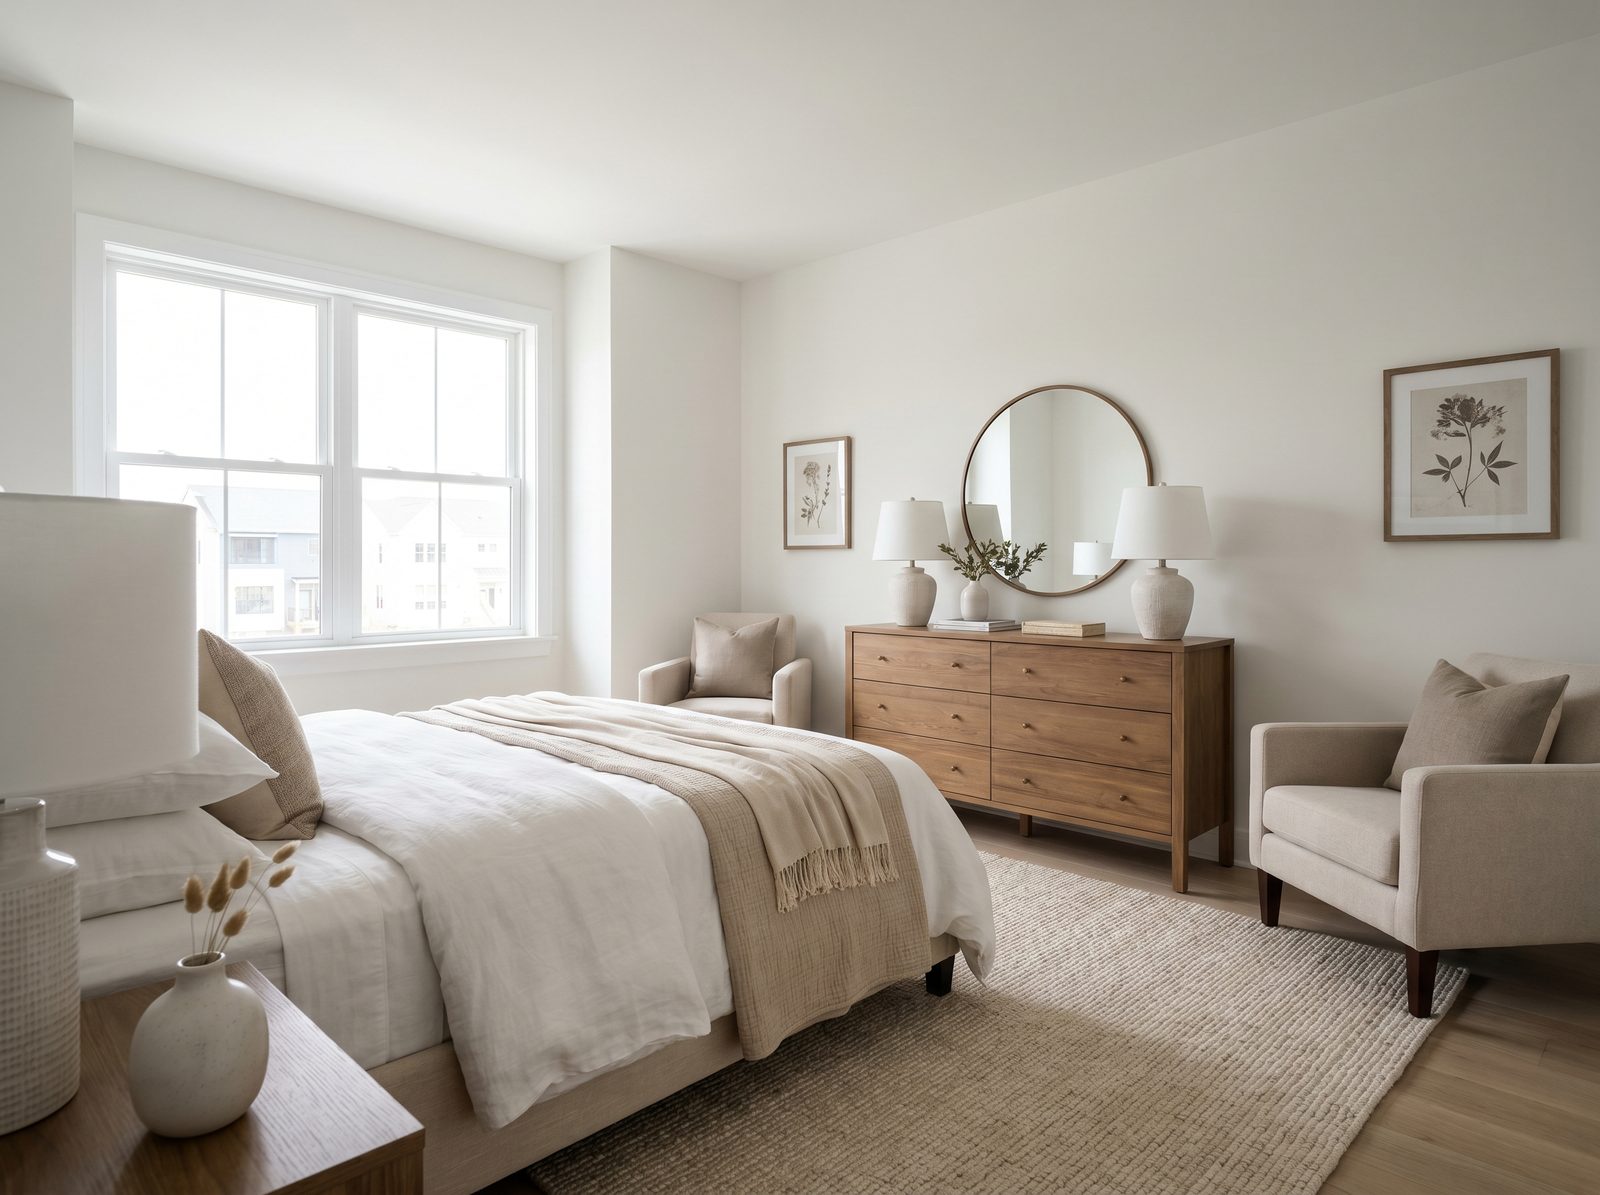
Empty rooms are their own challenge — they photograph cold and make spaces look smaller and purposeless. Physical staging is expensive and slow. Virtual staging solves this by furnishing an empty room digitally after the shoot, so a vacant property still looks like a home buyers want to move into.
4. The gear you actually need (and what to skip)
You can spend a fortune on equipment, but you do not need to. A focused kit used well beats an expensive kit used badly. Here is what actually moves the needle.
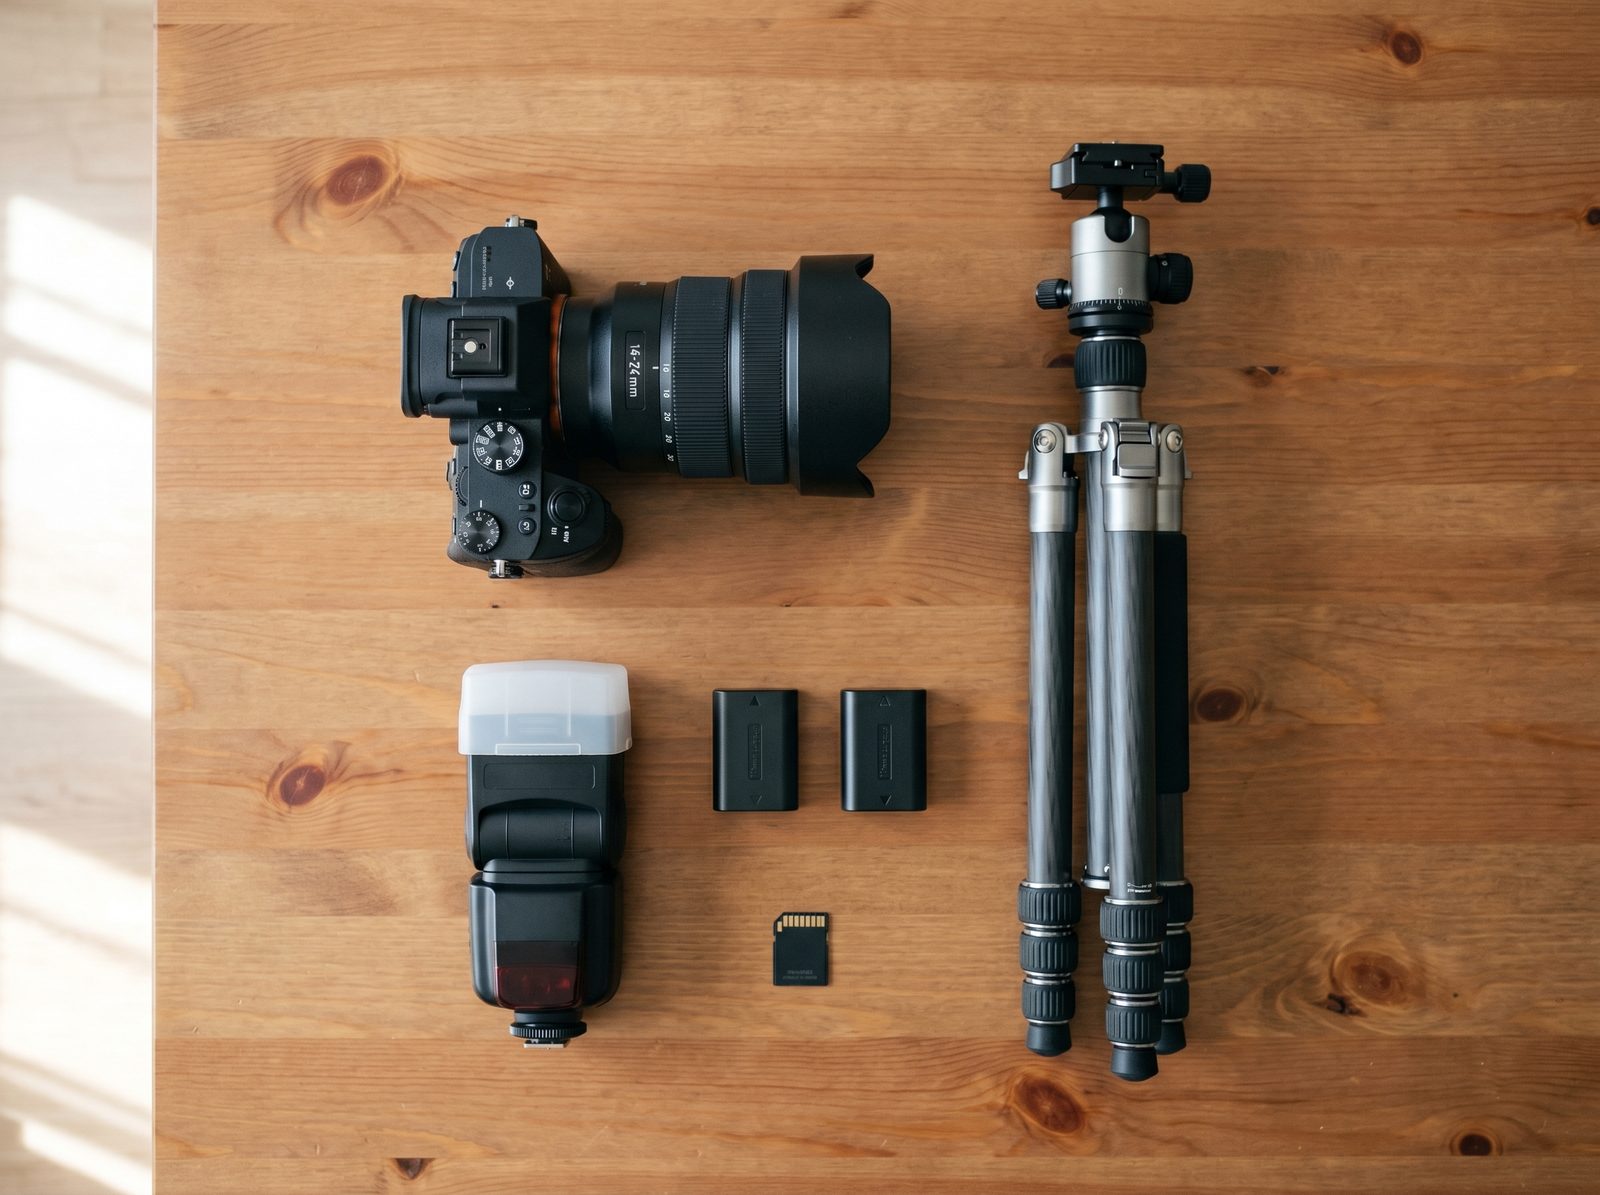
The essentials
- A camera with an interchangeable lens (mirrorless or DSLR) is ideal — but a recent Pro-level smartphone on a tripod, shot in good light, beats a DSLR used carelessly.
- A wide-angle lens — roughly 16–24mm on full-frame, or about 10–16mm on a crop sensor. Wide enough to show a room, not so wide it distorts.
- A sturdy tripod. This is non-negotiable: it keeps your shots sharp at low ISO, your verticals straight, and your camera at a consistent height across the set.
- One external flash (speedlight). Not essential on day one, but it unlocks the cleanest lighting technique — flambient — later.
What to skip at the start
Drones, 360 cameras and gimbals are powerful but they are revenue-justified upgrades, not starting kit. One South-Africa-specific note on drones: flying a drone commercially — including to photograph a listing for a client — requires a licence from the Civil Aviation Authority (a Remote Pilot Licence and the operator holding an ROC). Do not fly a paid listing shoot without the right paperwork.
5. Camera settings that work
Shoot in RAW and work in manual mode. RAW keeps the maximum detail in highlights and shadows for editing; manual mode keeps your exposure and colour consistent from frame to frame. Here is a dependable starting point.
Interior settings
- Aperture: f/8 to f/11 for front-to-back sharpness. Past f/11 you start losing sharpness to diffraction.
- ISO: 100–400 to keep images clean. Your tripod lets you stay this low.
- Shutter speed: whatever balances the exposure — on a tripod, anything from 1/4s to a full second is fine.
- White balance: set it manually to the dominant light source rather than leaving it on auto, which drifts between shots.
- Bracketing: in high-contrast rooms (bright windows, dark corners), shoot 3–5 exposures of the same frame to blend later.
Exterior settings
Outdoors you have more light to play with, so you can drop the ISO to 100 and let the aperture sit around f/8. Keep the camera level so the building's verticals stay true, expose for the house rather than the sky (you can recover or replace the sky in editing), and shoot the hero exterior in golden-hour light with the interior lights switched on.
6. Composition: make rooms feel bigger and truer
Composition is what separates a snapshot from a sales tool. Three habits do most of the work.
- Keep verticals straight. Level the camera so walls and door frames are perfectly upright — leaning verticals are the fastest tell of an amateur photo.
- Shoot from a corner. A two-wall, one- or two-point-perspective angle shows depth and makes a room feel larger than a flat wall-on shot.
- Mind your height. Around 1.2–1.4m (roughly chest height) flatters most interiors; too high makes floors loom, too low makes ceilings crowd in.
Beyond the basics: leave breathing room around the frame rather than cutting the ceiling or floor awkwardly, lead the eye toward the room's best feature, and capture a few tighter detail shots — a fireplace, a designer tap, a view framed through a window. Those details give a listing texture and personality.
7. Lighting and the four styles
How you handle light defines the look of your photos. There are four common approaches, from simplest to most advanced. None is "wrong" — they trade speed against quality.
| Style | Effort | Result | Best for |
|---|---|---|---|
| Natural / ambient | Lowest | Easy and authentic, but windows can blow out and dim rooms look flat | Bright, well-lit homes and fast turnarounds |
| Flash | Medium | Clean, accurate colour, but can look flat if not bounced well | Dark rooms and tricky mixed lighting |
| HDR (bracketed) | Medium | Holds detail in windows and shadows; can look unnatural if overdone | High-contrast rooms, high-volume shooting |
| Flambient | Highest | The cleanest, most natural look — ambient and flash blended in editing | High-end listings where quality is everything |
If you are starting out, master natural light first, then add a single flash and learn HDR. Flambient — blending an ambient exposure with one or more flash exposures and masking them together in post — is the technique most top shooters settle on, because it produces magazine-quality colour without the fake, haloed look of heavy HDR.
8. Editing and post-production
Editing is where good photos become great — and where great photographers show restraint. The goal is a bright, clean, believable image, not a fantasy. A standard workflow in Lightroom (or any equivalent) looks like this:
- Correct exposure and white balance so the room is bright and the colours are true.
- Apply lens corrections to fix distortion and straighten any leaning verticals.
- Recover highlights and lift shadows so windows are not blown out and corners are not black.
- Replace or enhance a flat sky on exterior shots where it helps.
- Spot-remove sensor dust and any small distractions.
- Batch the whole set with a consistent preset so every image looks like it belongs to the same listing.
9. Go beyond stills: virtual tours and AI video
Photos open the door. Motion gets buyers to commit. Listings with video consistently earn more enquiries and longer engagement, and the major portals increasingly favour them. Today buyers expect to "walk" a property before they ask to see it in person — and a video tour pre-qualifies the serious ones so you spend viewing time on real prospects.
 Before · your photo
There are two broad routes: interactive 360-degree tours (Matterport-style digital twins) and cinematic video walkthroughs. The catch is that shooting and editing video is a separate skill, with its own gear and hours of work — which is exactly why most agents never get around to it.
This is the gap RealTours was built to close. You upload the listing photos you have just shot, and you get a cinematic, narrated video tour back the same day — both a landscape version for portals and YouTube and a portrait version for WhatsApp and social — complete with a professional voice-over and music. No video gear, no editing suite, no extra shoot. You can see real tours here and check the pricing.
One honest caveat, because it matters: a video tour is only as good as the photos feeding it. Nail the fundamentals in this guide first — clean staging, straight verticals, good light — and the tour will do the rest.
10. South African field notes
A few realities are specific to shooting property here, and getting them right is part of looking like a professional in this market.
- Light: north-facing rooms get the most sun (see section 2). Plan your route around it rather than fighting it.
- Load-shedding: schedule around the timetable so lights are on, and arrive fully charged.
- Seasons: high-summer midday sun is harsh and contrasty — shoot early or late; winter's lower, warmer light is often kinder to exteriors.
- Portals: on Property24 and Private Property, the lead image is everything. Lead with your single strongest exterior or living shot.
- Pricing: professional shoots vary widely by region — a standard home often runs in the region of R800–R2,500, with larger or luxury homes and add-ons (twilight, drone, video) higher. Price for your market.
11. Common mistakes and a quick checklist
Most weak listing photos fail for the same handful of reasons. Run through this before you call a shoot done:
- Ultra-wide distortion that warps walls and oversells the space.
- Crooked or leaning verticals.
- Blown-out windows or rooms left too dark.
- The photographer caught in a mirror, TV or window reflection.
- Lights off, or a mix of warm and cool bulbs throwing off the colour.
- Over-cooked HDR with grey halos around the windows.
- Too few photos, or forty near-identical ones — and a weak lead image.
Do the fundamentals well and your listings will already stand out. Add motion on top, and you are not just keeping up with the market — you are setting the standard for it.